
Connecting with AndroidUpdated 10 days ago
If your PlantWave will not connect to your Android phone, work through these steps in order.
Step 1: Update your PlantWave's firmware. This is necessary to ensure Android phones will connect to PlantWave via Bluetooth. You will update from a computer, not from your phone.
What you need:
- A computer running Chrome or Edge. Phones and tablets cannot update the device.
- A USB cable that carries data, not a charge-only cable.
- Enough charge to switch the device on. If your PlantWave has been sitting a while, plug it in for a couple of hours first.
- A few minutes where you can leave the device plugged in.
Updating the device:
- With your PlantWave switched off, plug it into your computer with the USB cable.
- If your computer asks whether to allow the accessory, choose Allow.
- Switch the PlantWave on.
- Open plantwave.com/update and click Find my PlantWave.
- Your browser opens a small window listing connected devices. Choose PlantWave Serial and click Connect.
- Click Install, you will be prompted to turn your PlantWave off and back on once during the process.
- Once complete you will need to forget the old Bluetooth pairing. The update gives your PlantWave new pairing keys, so the pairing saved on your phone no longer matches it. Open your phone's Bluetooth settings, find PlantWave in the saved devices, and choose Forget. If you have never paired this phone with your PlantWave, you can skip this step.
If the updater does not find your PlantWave:
- Plug straight into the computer rather than through a hub or a dock.
- Try a different USB cable. Some cables only carry power.
- If your PlantWave appears as PlantWave MIDI, click Switch mode over Bluetooth on the same page, then unplug the cable and plug it back in.
Step 2: Check your charge. Plug in your PlantWave for at least 2 to 4 hours. The double set of lights on the back glow orange while charging and turn green when full. The red light near the power switch just means it is on, that is not the charging indicator.
Step 3: Open the PlantWave app. You can download it from the Google Play Store. Make sure your phone is running Android 12 or newer, 14 or newer is best. Your phone's software matters more than the brand name. You can check your device against our compatibility list.
Step 4: Allow location permissions. Either allow all permissions in the app, or go to Settings, Apps, PlantWave, Permissions, Location and select "Allow while using the app." Android requires this to connect over Bluetooth. Bluetooth and Location Services both need to be switched on.
Step 5: Clip to your plant. Attach both sensors to two separate leaves on the same plant using the small metal clips or the electrode pads. The large white mushroom clips are for fungi only and will not work on plant leaves.

Step 6: Connect in the app. Open PlantWave and tap Connect, the app will automatically start searching for PlantWaves to connect with. When PlantWave appears, tap the green radio button next to it, like this:
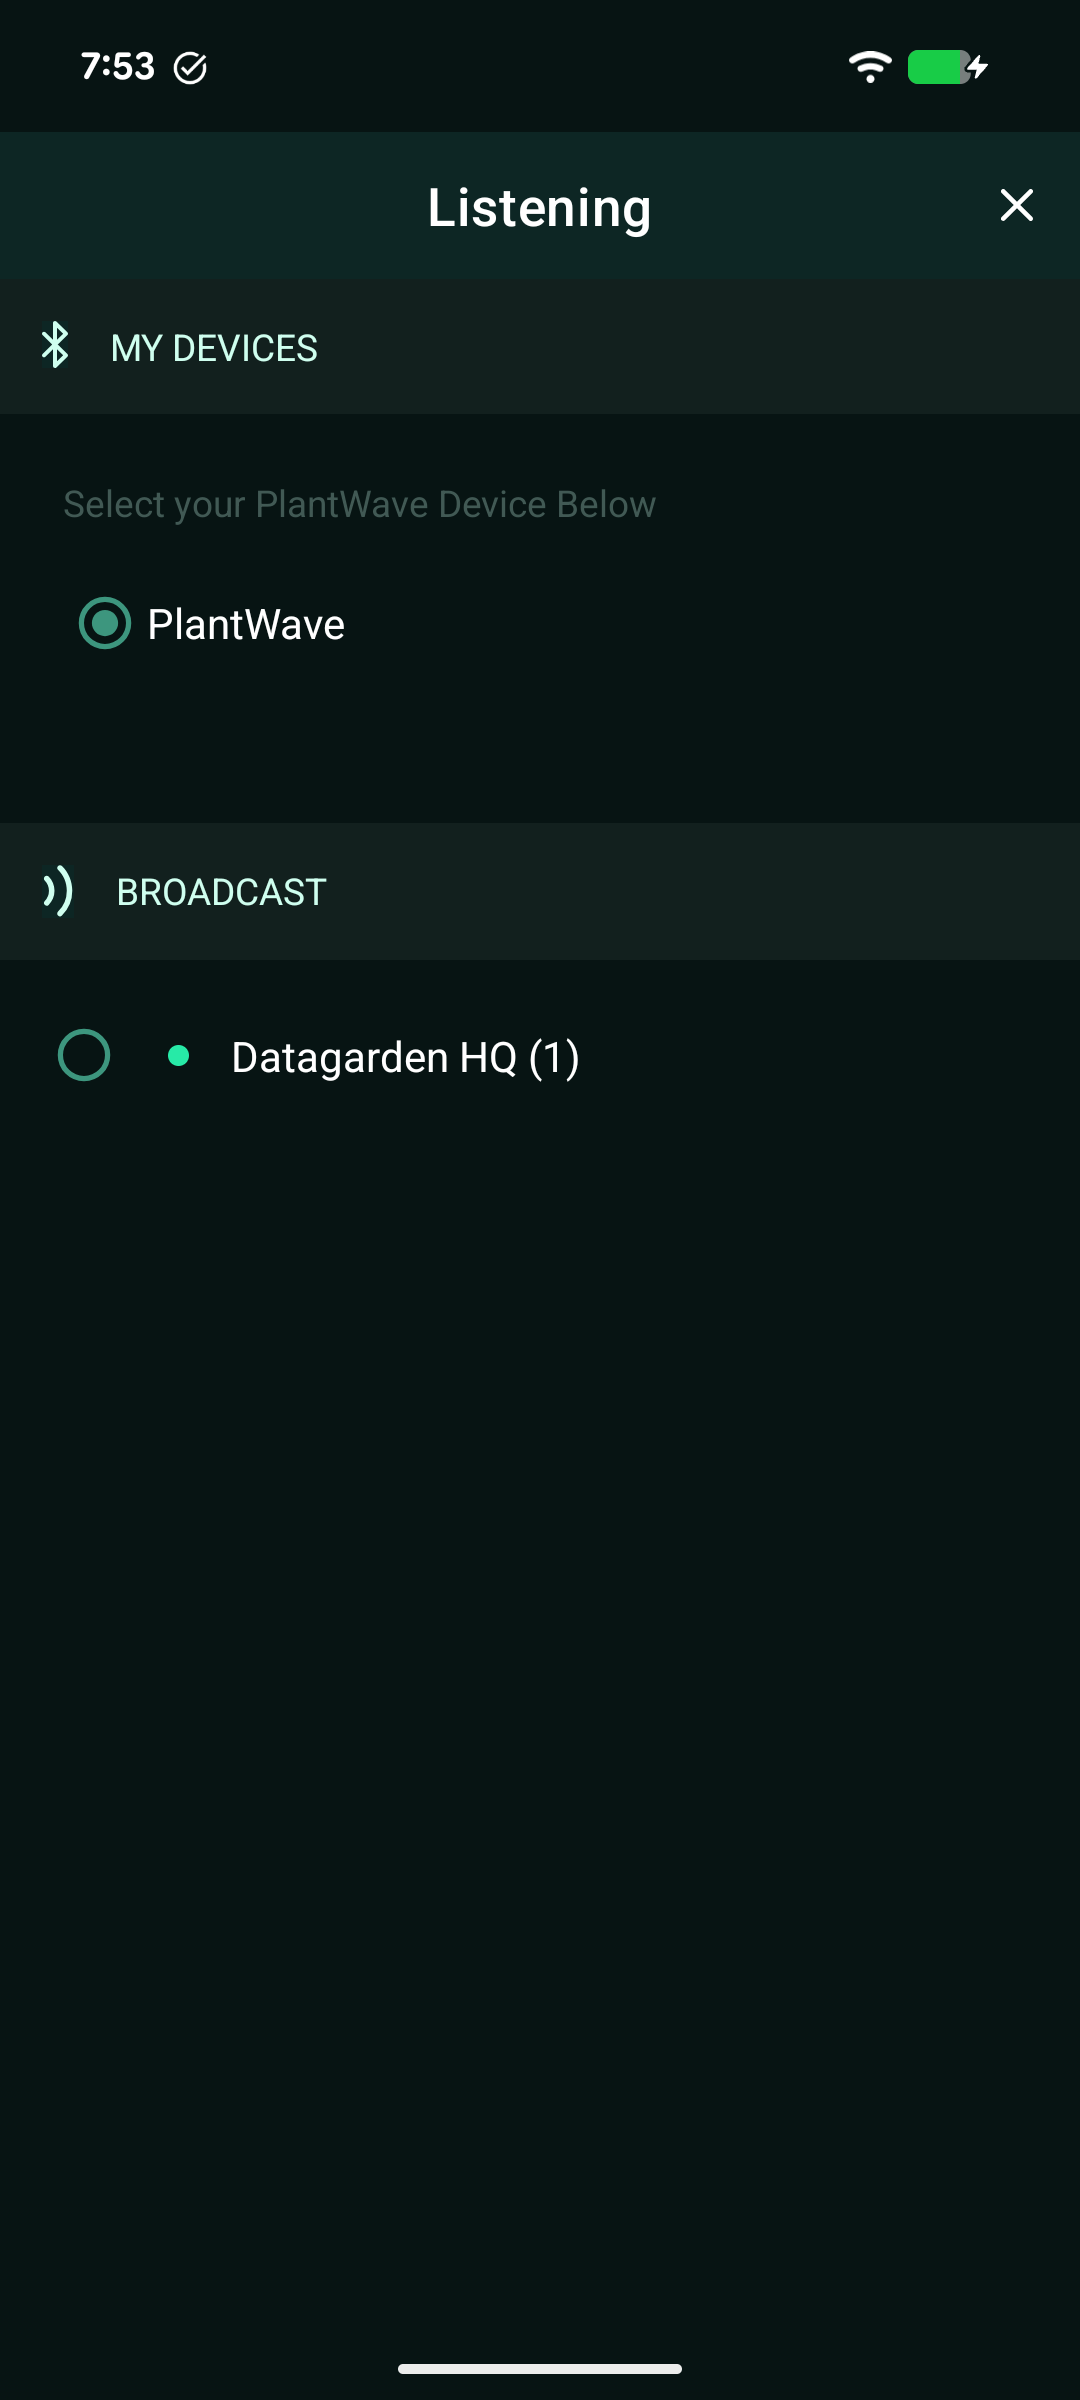
Confirm any Bluetooth pairing popup from your phone and head back to the main home screen of the PlantWave app. You will see one prompt asking to pair, and there is no code to type. Once connected, you will see "PlantWave" at the top of the home screen, and if the lights on your PlantWave are changing colors you should hear the music.
Still stuck? Email us at [email protected] with your phone make, model and Android version and we will take it from there.